Offset Printing of the Enter the Forest Book
Hello everyone,
I had two very exciting printing days at the NINO print shop with René from Kehrer Verlag. It’s really something special to be able to experience live when your own book enters the final phase after such a long time. I haven’t fully realized it yet and probably won’t until I can hold the finished bound book in my hands. 🥹
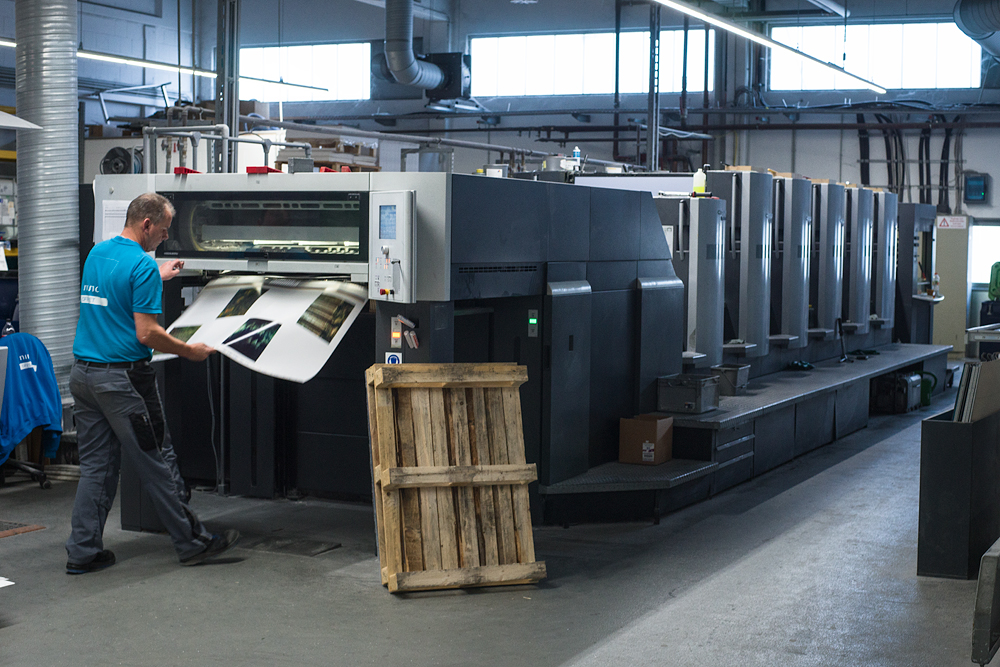
The press in which all the sheets were printed. A Heidelberg Speedmaster CD 102-5+L
In the beginning, the NINO team set up the press so that the colors etc. were already properly set up on the print sheet according to ISO standards. We then always joined in to approve the colors and the print quality for each new sheet. (The approved and signed sheets are also called “color sheets”).
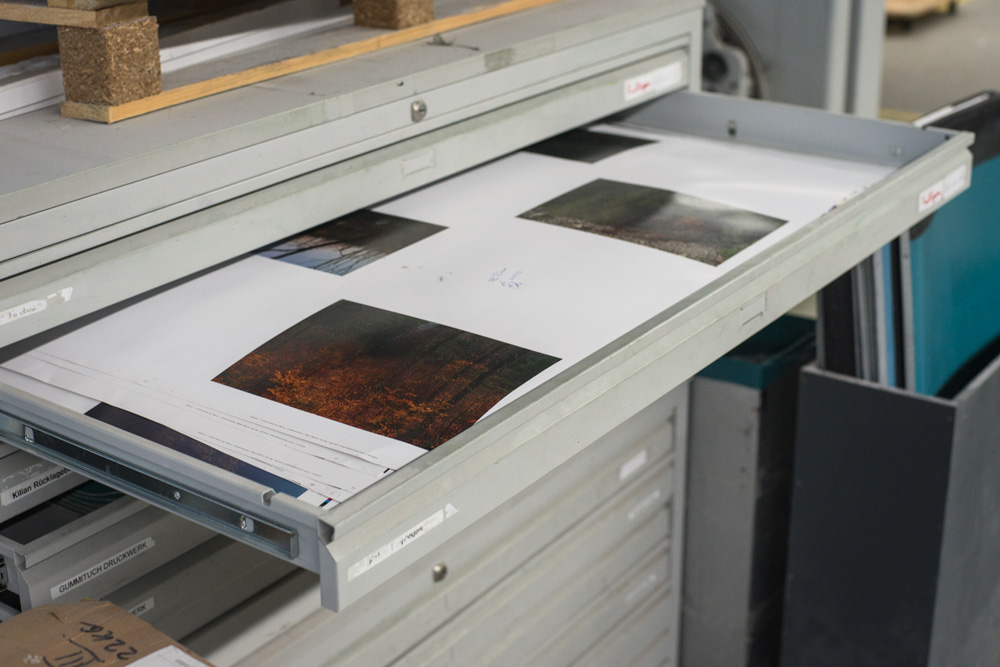
Intermediate storage of colorsheets while the job is running.
With the first sheet, you always need a little more time for fine-tuning in order to find the basic settings for the colors. This usually works for the next sheets as well, and you only have to readjust areas from time to time. René’s experience was irreplaceable here, because he knew exactly how the color impression changes depending on the lighting conditions and after the inks have fully dried. This is important because fresh prints always look more contrasty and saturated while the inks is still damp. It is essential to take this into account when making judgments!
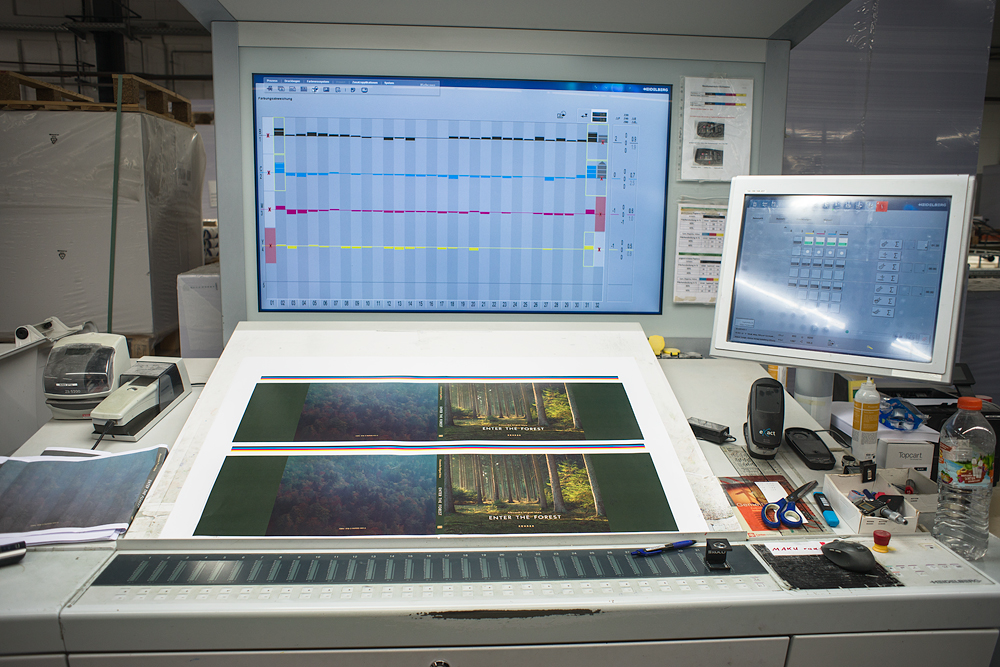
Control center on the press under normal light.
We have taken the press proof as a printing guide. Usually, you also have proofs to have a clear orientation for the colors. Often, red tones look a bit stronger under artificial light/normal light. That’s why we always went out into the daylight were we where able to judge the colors better at the print shop’s roller shutter. Good thing it wasn’t raining 😄
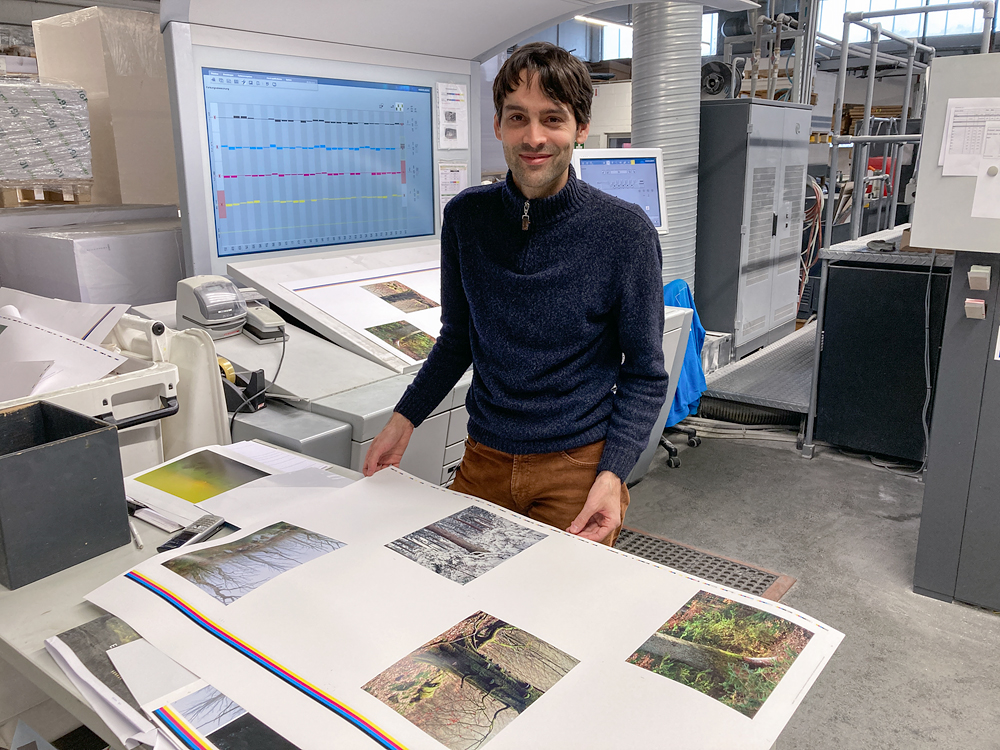
Examining the fourth print sheet of the first print side
On the press, you can still fine-tune the ink application per color (CMYK), and even area-by-area along the color roller’s path. This allows specific corrections to be made for each image/group of images. Fascinating!
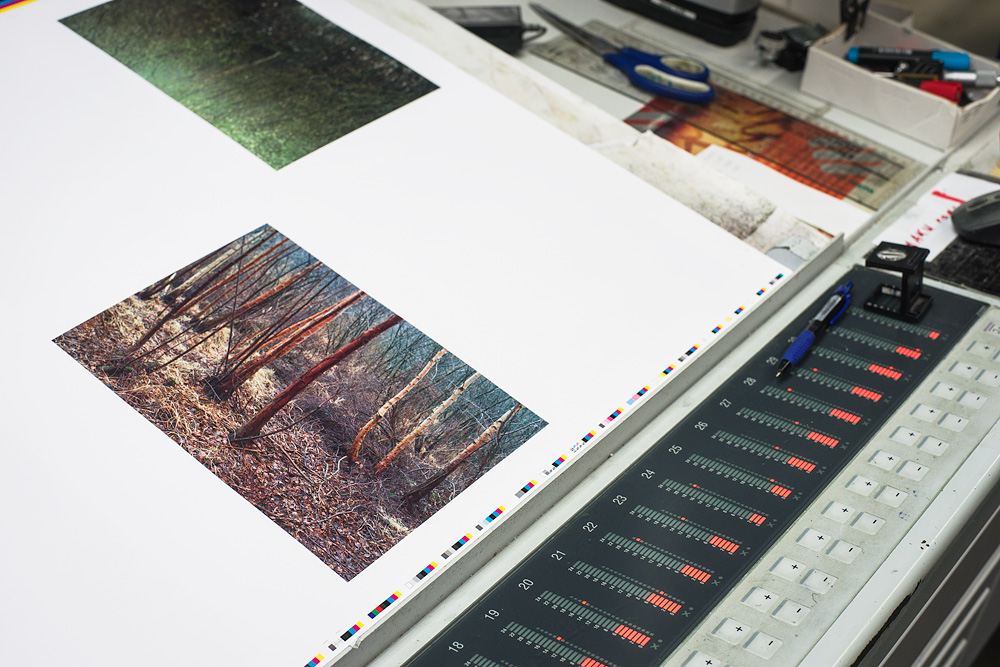
Area correction along the printed sheet divided into 32 segments
After the machine was running at full speed, René and I went back to the meeting room. There we took another look at the sheets, which had already dried a bit, and waited until the next sheet was ready for approval.
Most of the work was done by the printers at the press. I wasn’t aware of how much manual work was still necessary for the press to print the sheets cleanly throughout. Sure, a few modern systems make things easier, but it’s still an analog process. Spot checks have to be carried out again and again to make sure that everything is still correct. The printer knows his press well and every move is perfect, for example when it comes to correcting printing plates to remove errors in the print image.

Error correction on the printing plate is also called “knocking off”
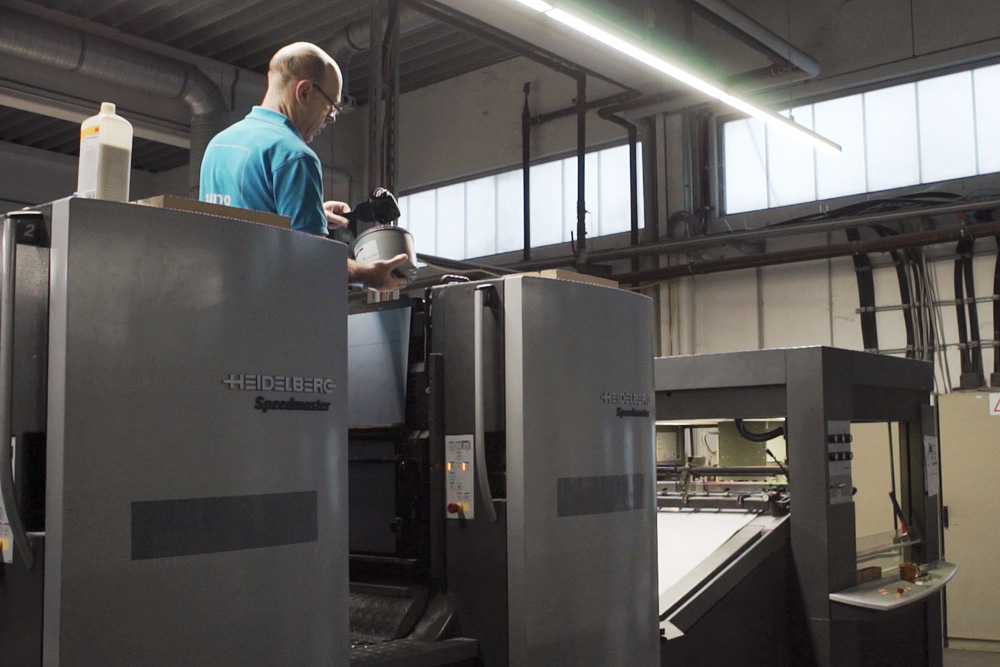
Refilling the black ink
After corrections of any kind, it is often necessary to run various printed sheets through the press so that, for example, the ink can be properly distributed on the roll again. More sheets are always printed than are needed for the book. This also gives you a buffer for just such correction runs. In the end, there is a lot of paper that is recycled. I would not have thought that it will be so much 😯
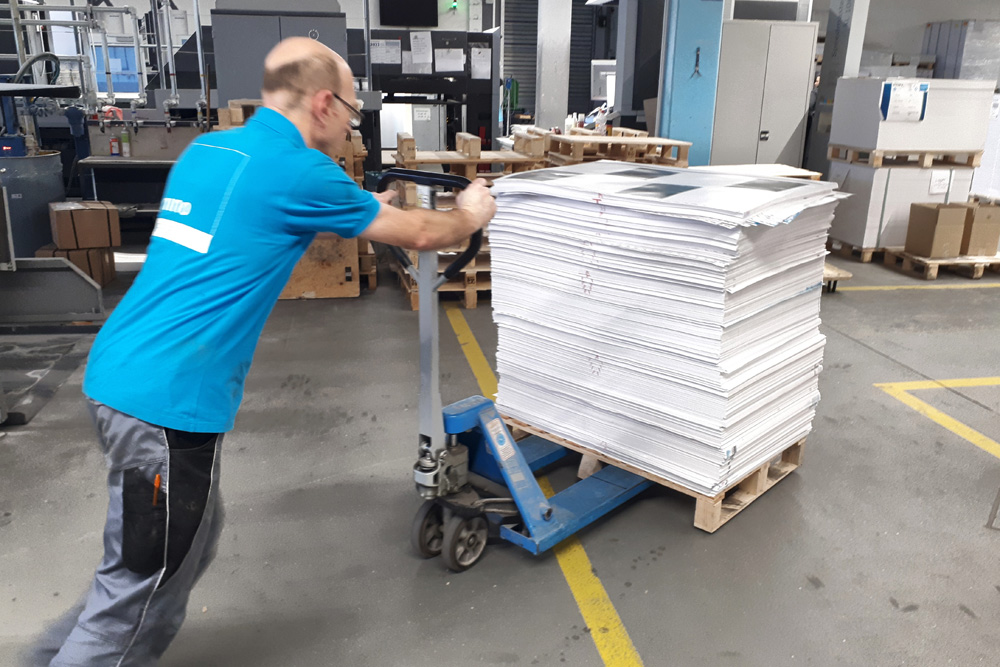
Stack of paper for recycling
On a single sheet always fit 16 pages with the selected book format. The book has 128 pages and thus makes optimal use of each printed sheet. Resullting in a total of 8 sheets that are needed (128/16=8). In addition, there is also a sheet for the dust jacket.
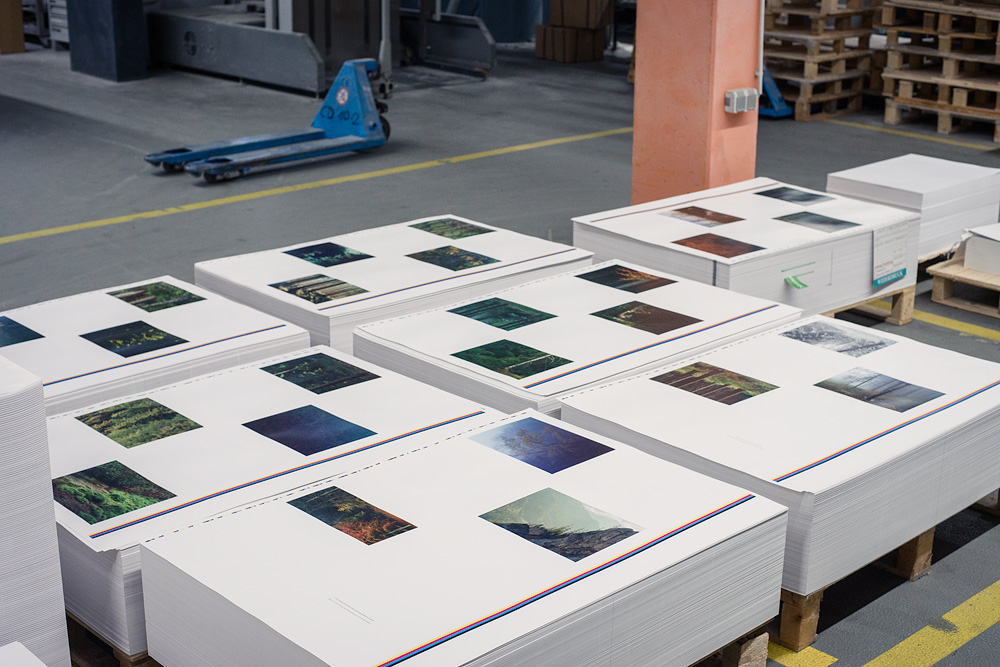
Seven finished printed sheets stack of book (The last one is still in the press)
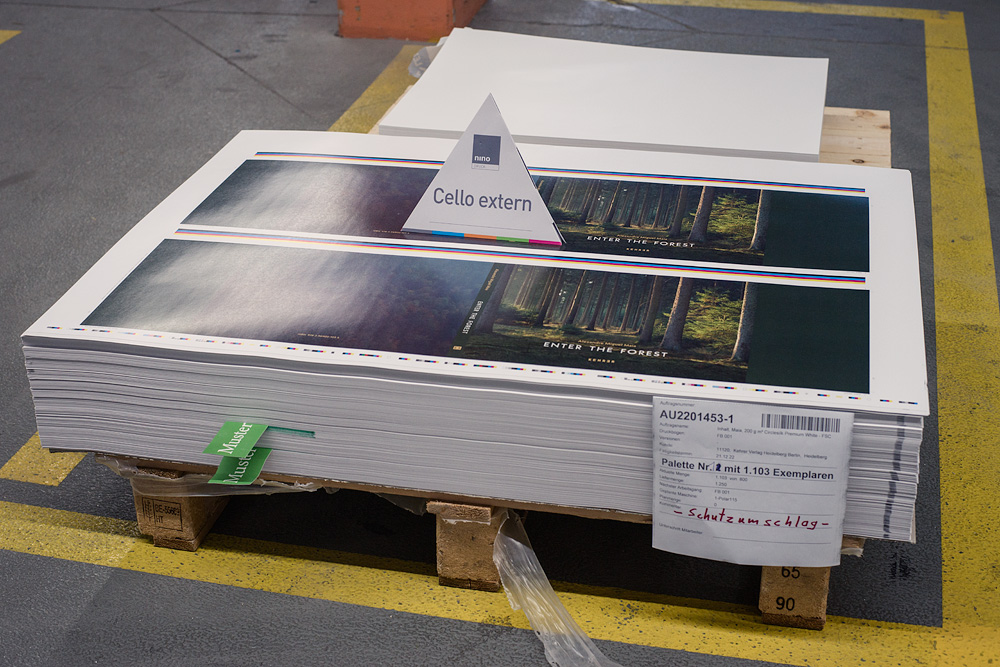
Sheets of the dust jacket for further processing by the bookbinder
In classic offset printing, four colors are used. Cyan, yellow, magenta, black (CMYK). Here in the book, an extra varnish is added, which is printed like another color only on the photos. For each of these colors+varnish it is necessary to make a printing plate to transfer/press the color onto the paper. Nowadays this is done with modern CtP (Computer to Plate) and transferred in raster by means of RIP software (Raster Image Processor). This avoids that most of the colors are not on top of each other, but next to each other. You know it from school, when you mixed all the colors together with the ink, that in the end only a dirty brown comes out. 😂
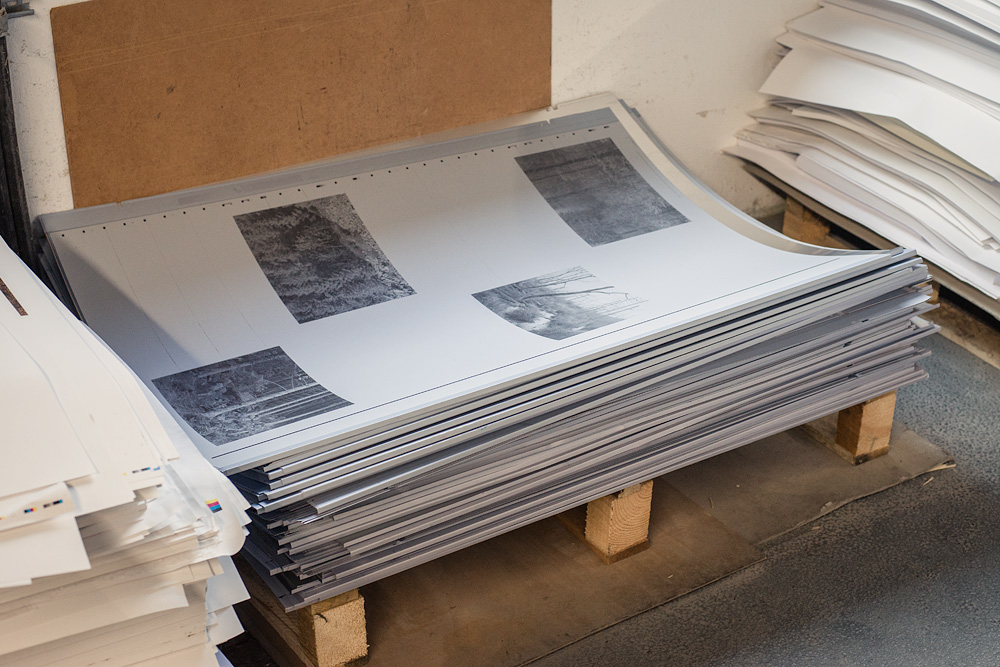
Old printing plates for each color & the partial varnish
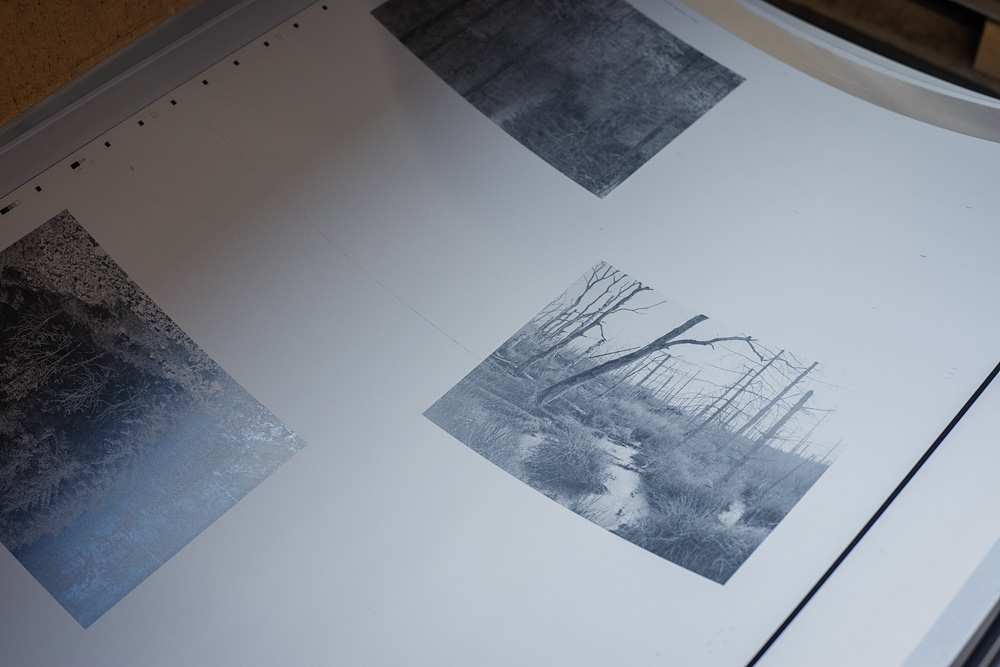
Printplate closeup
I hope that you enjoyed this basic insight. Now the finished sheets have to dry out for a few days and then the bookbinding shop will take over and turn it into the finished book. Can’t wait to see it! 😃
Enjoy your days off and have a great start into the next year!
Alex


